How to Tie a Necktie Step by Step: Four Knots for Any Collar

Tying a tie looks complicated the first time, but most men only ever need one or two knots. Once your hands learn the movements, a tie takes less than a minute.
This guide is for beginners, students tying a school tie and men who want a neater knot for work or a wedding. It walks through four knots step by step, from the quick four-in-hand to the full Windsor, then covers what most guides skip: how to get the length right, how to make a dimple, how to tie a tie on someone else, common mistakes and how to untie and store a tie so it lasts.
Quick answer: Start with the four-in-hand: drape the tie with the wide end hanging lower, cross it over the narrow end, wrap it behind, cross over again, bring it up through the neck loop and down through the front loop. Tighten slowly and adjust until the tip reaches your belt buckle.
Short on Time? Pick Your Path
Table of Contents
- 01Choosing the Right Knot Before You Start
- 02How to Tie a Four-in-Hand Knot
- 03How to Tie a Half Windsor Knot
- 04How to Tie a Full Windsor Knot
- 05How to Tie a Pratt Knot
- 06Getting the Length and Dimple Right
- 07Tying a Tie on Someone Else or for School
- 08Common Tie Knot Mistakes
- 09Untying and Storing Ties So They Last
01
OF 09
Choosing the Right Knot Before You Start
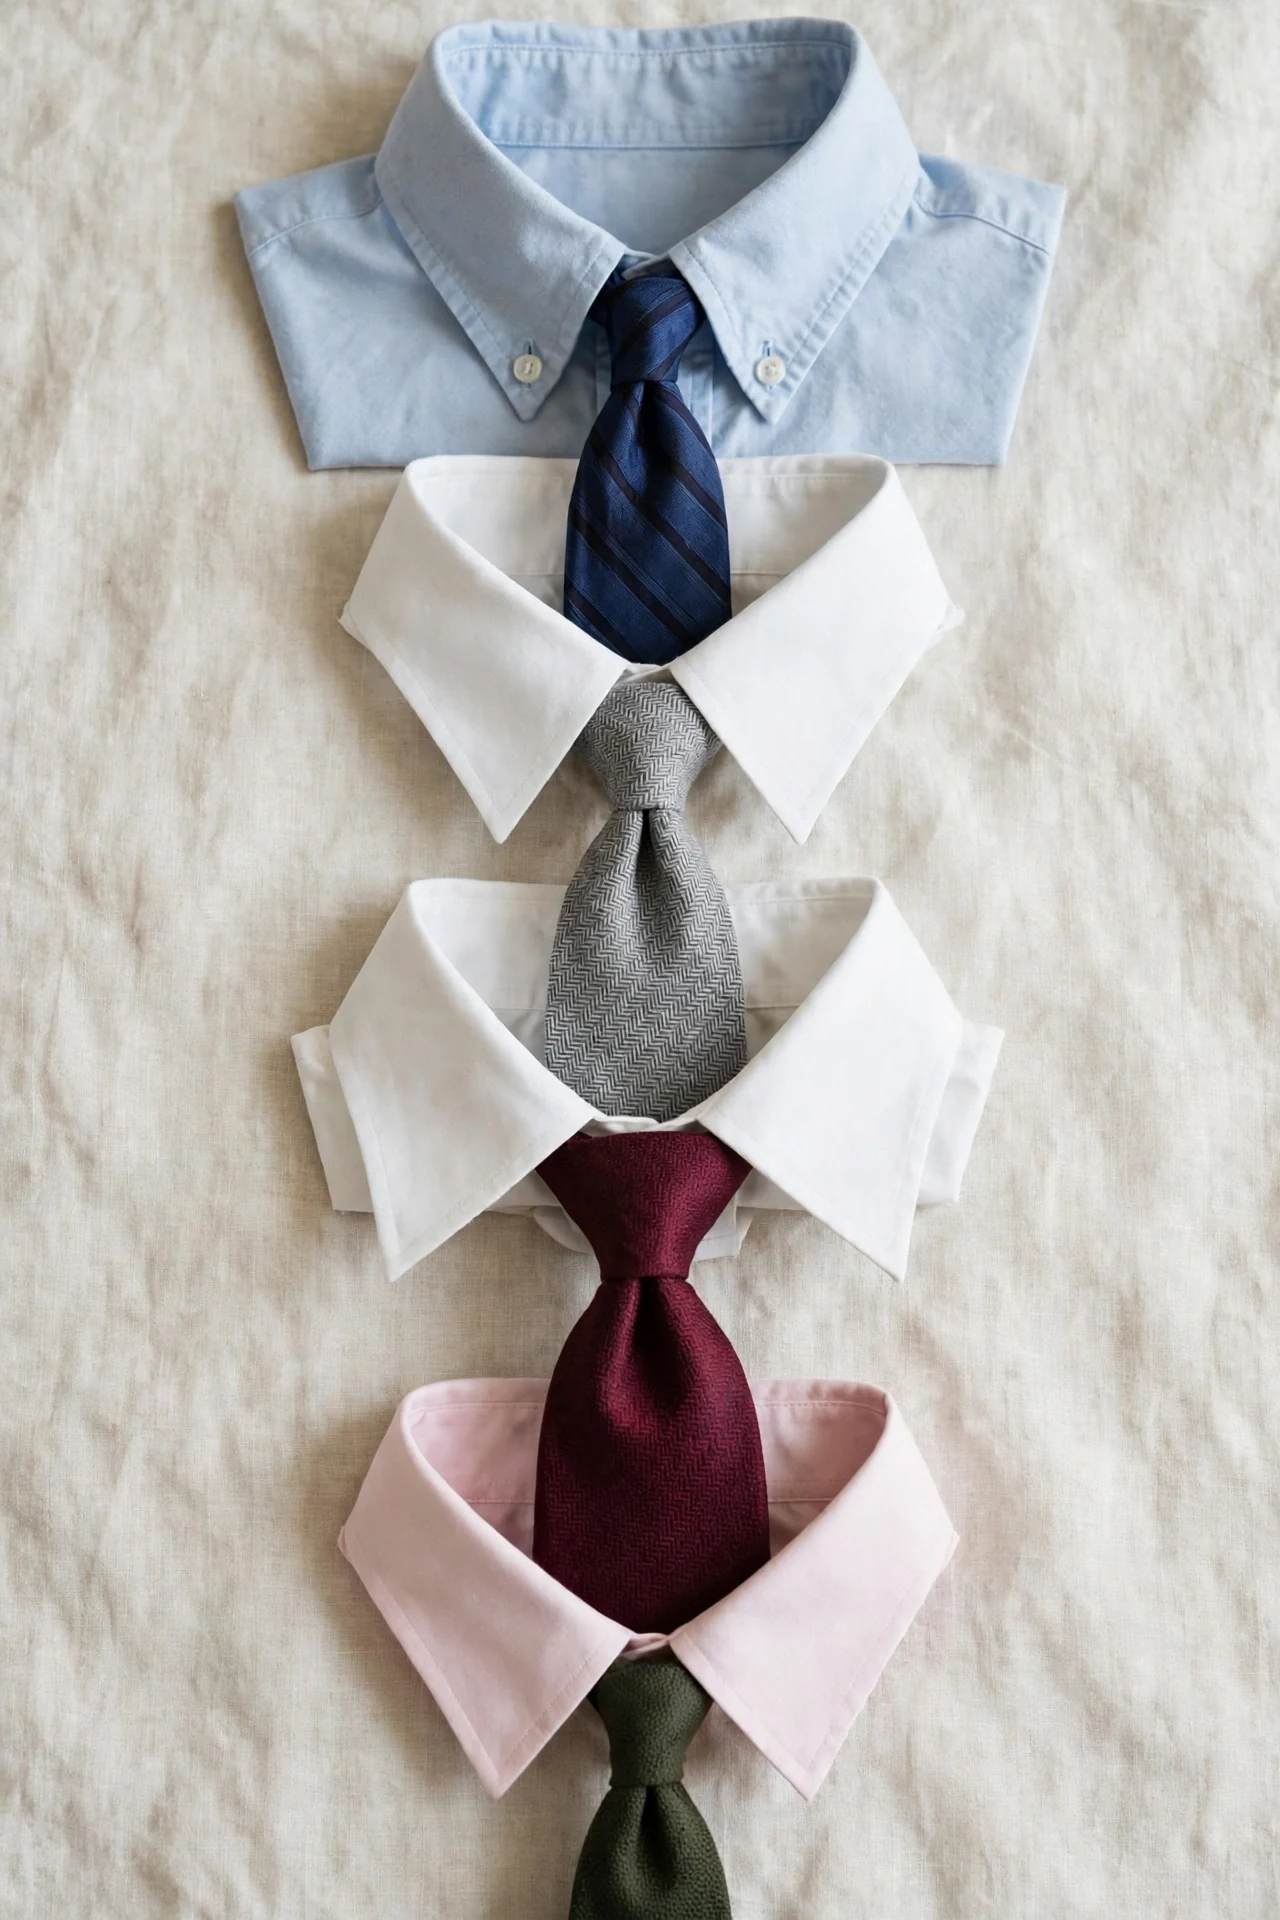
Different knots suit different collars and occasions. A small knot fits a narrow collar and looks relaxed, while a big knot fills a wide spread collar and looks formal.
Before an interview, it’s worth checking whether you need a tie at all, since interview outfits for men vary a lot by role.
Here’s how the four most useful knots compare.
| Knot | Size | Shape | Difficulty | Best Collar | Best For |
|---|---|---|---|---|---|
| Four-in-hand | Small | Slightly asymmetric | Easiest | Point, button-down | Everyday, school, casual |
| Half Windsor | Medium | Symmetrical | Easy | Most collars | Work, interviews |
| Full Windsor | Large | Wide, symmetrical | Moderate | Spread, cutaway | Weddings, formal events |
| Pratt | Medium | Neat, symmetrical | Easy | Most collars | Work, everyday |
Thick wool or knit ties make bigger knots, so a four-in-hand is usually enough. Thin silk ties make smaller knots and can handle a half or full Windsor.
How Many Ways There Are to Tie a Tie
The Smithsonian reports that in 1999 two University of Cambridge mathematicians, Thomas Fink and Yong Mao, estimated there were 85 ways to knot a tie. In 2014, a mathematician at Stockholm’s KTH Royal Institute of Technology dropped their assumptions and calculated 177,147.
02
OF 09
How to Tie a Four-in-Hand Knot

The four-in-hand is the easiest and fastest knot, which makes it the best first knot to learn. It’s slightly asymmetric and narrow, which looks relaxed and suits most shirts.
Stand in front of a mirror with your collar up. The wide end goes on your right and hangs about 12 inches lower than the narrow end.
Drape the tie around your neck, wide end on the right, hanging lower.
Cross the wide end over the narrow end to the left.
Bring the wide end behind the narrow end, back to the right.
Cross the wide end over the front again, to the left.
Bring the wide end up through the neck loop from underneath.
Push the tip down through the front loop you just made.
Hold the narrow end and slide the knot up to your collar.
The finished knot leans slightly to one side, and that’s normal. It’s part of what makes the four-in-hand look relaxed.
🎨
Knot Size
small
✂️
Time
under 30 seconds
📐
Best Tie
wool, knit or thick silk
If the tie ends too short, start again with the wide end hanging lower. Taller men usually need more length on the wide end than shorter men.
03
OF 09
How to Tie a Half Windsor Knot

The half Windsor makes a medium, symmetrical triangle. It looks tidier than the four-in-hand and suits most collars, which makes it a reliable work knot.
Start with the wide end on the right, hanging about 12 inches lower than the narrow end.
Cross the wide end over the narrow end to the left.
Bring the wide end back underneath the narrow end, to the right.
Bring the wide end up toward the neck loop and down through it, so it ends on the left.
Cross the wide end over the front, from left to right.
Bring the wide end up through the neck loop from underneath.
Pass the tip down through the front loop.
Tighten slowly while sliding the knot up.
The half Windsor needs a little more length than the four-in-hand. If it ends short, start with the wide end an inch or two lower.
💡 Keep Your Movements Loose Until the Last Step
Pulling tight halfway through makes the knot lopsided. Keep it loose, then tighten and shape it at the end.
04
OF 09
How to Tie a Full Windsor Knot

The full Windsor, often called the double Windsor, makes a large, wide, symmetrical knot. It fills a spread or cutaway collar and looks formal.
It uses more of the tie’s length, so start with the wide end hanging about 14 inches lower than the narrow end.
Cross the wide end over the narrow end to the left.
Bring the wide end up through the neck loop from underneath and down on the left.
Pass the wide end behind the narrow end, to the right.
Bring the wide end up through the neck loop and down on the right.
Cross the wide end over the front, from right to left.
Bring the wide end up through the neck loop from underneath.
Pass the tip down through the front loop and tighten.
Take your time on the first few attempts. The extra wraps make it easy to lose track, so follow the steps in a mirror.
Skip It If You’re Wearing a Narrow Collar or Thick Tie
A full Windsor in a thick tie or under a narrow point collar looks bulky and squashed. Use a four-in-hand or half Windsor instead.
05
OF 09
How to Tie a Pratt Knot
The Pratt, also called the Shelby, makes a neat, medium, symmetrical knot. It uses less length than a Windsor, which makes it useful for taller men or shorter ties.
It starts with the tie inside out, so the seam faces outward.
Drape the tie with the seam facing out, wide end on the right.
Cross the wide end under the narrow end to the left.
Bring the wide end up over the neck loop and down through it, then tighten.
Cross the wide end over the front, from left to right.
Bring the wide end up through the neck loop from underneath.
Pass the tip down through the front loop and tighten.
When it’s done, the seam is hidden inside the knot. Only the front of the tie shows.
📌 The Pratt Saves Length on Taller Men
Because it uses fewer wraps, the Pratt leaves more tie hanging in front. It’s a good fix if your ties always end above your belt.
06
OF 09
Getting the Length and Dimple Right

The tip of the tie should end around your belt buckle. Mr Porter’s tie guide suggests the front blade shouldn’t extend beyond the waistband of your trousers.
BEFORE:
A tie tip ending several inches above the belt, which looks short and boyish.
AFTER:
The same tie retied with the wide end lower to start, ending at the belt buckle, which looks balanced.
A dimple is the small fold just under the knot. Permanent Style advises securing the knot and its dimple “completely before pulling on the thinner blade to bring it up to the collar.”
Making a Centre Dimple
As you tighten the knot, press your index finger into the centre of the wide blade just below the knot. Pinch the sides lightly with your thumb and middle finger so the fold stays in the middle.
Mr Porter notes that “the narrower a tie, the harder it is to create a dimple.” On very skinny ties, a dimple is optional.
07
OF 09
Tying a Tie on Someone Else or for School

Tying a tie on someone else feels backwards, because your hands are mirrored. The easiest fix is to stand behind them, facing the same direction, and tie it as you would on yourself.
If you have to face them, tie the four-in-hand slowly, swapping left and right in your head.
Stand behind the person, both facing a mirror.
Drape the tie around their neck, wide end on their right.
Tie a four-in-hand exactly as you would on yourself.
Slide the knot up gently, leaving room for two fingers at the collar.
Check the tip reaches about their belt.
For school ties, a four-in-hand is the best choice. It’s small, quick and easy for kids to learn themselves later.
💬 Leave a Pre-Tied Knot for Young Kids
For young children, tie the knot once, loosen it and slip it off over their head. They can slip it back on and tighten it each morning.
08
OF 09
Common Tie Knot Mistakes
Most messy knots come from a few simple errors. They’re all easy to fix.
Choosing a Knot That Doesn’t Match the Collar:
A tiny knot in a wide spread collar leaves gaps, and a big Windsor in a narrow collar looks squashed. Mr Porter goes further, calling the Windsor “almost always the wrong knot” for a relaxed look.
✅ Do This
Match the knot to the collar, like a four-in-hand for point collars and a half or full Windsor for spread collars.
🚫 Skip This
Don’t pull the knot so tight that it shrinks into a small, wrinkled lump at your throat.
Another common mistake is leaving the top shirt button undone under a tie. The knot should sit up against a fastened collar.
09
OF 09
Untying and Storing Ties So They Last
How you take a tie off matters as much as how you put it on. Yanking the narrow end through the knot stretches and creases the fabric.
⚠️ Where Ties Get Ruined Fastest
Pulling the narrow end out of the knot every night slowly warps the lining. Untie it by reversing the steps instead.
Let the tie rest for a day between wears so creases can relax. Store ties rolled in a drawer or hung over a rail, not knotted on a hanger.
💡 The “Ironing Fixes Any Crease” Myth
Myth: You can iron a creased silk tie flat.
Reality: Direct ironing can flatten the rolled edges and leave shine on silk. Hanging it in a steamy bathroom or using a handheld steamer is gentler.
Which knot will you learn first?
FAQs
What is the easiest way to tie a tie?
The four-in-hand. It has the fewest steps and works with most shirts.
How long should a tie be?
The tip should end around your belt buckle, not above it or far below.
What is the difference between a half Windsor and a full Windsor?
A half Windsor is a medium, symmetrical knot for most collars. A full Windsor is larger and wider, for spread collars and formal events.
Which tie knot is best for an interview?
A half Windsor or Pratt. Both are neat, symmetrical and suit most collars.
How do you tie a tie on someone else?
Stand behind them, facing a mirror, and tie it as you would on yourself.
How do you get a dimple in a tie?
Press your index finger into the centre of the tie just below the knot as you tighten it.